As a software developer, I eventually moved all of my coding workflows from VS Code to Vim last month. Besides, I started to put more effort into writing as a tech writer. In order to facilitate my writing work, I need to build an efficient note-taking system. Luckily, Obsidian has what I need — user-friendly Vim-mode support.
Why Bother Using Vim to Take Notes?
The amazing speed brought by Vim helps me stay in the creative flow. When I am writing the first draft, the only thing I need to do is type out my thoughts to outline the story I’m working on. And when I am in the writing process especially the editing stage of my blog post, I do not bother leaving my figures from the keyboard to use the mouse for additional steps and move my attention back to the keyboard again. I need to integrate this smooth flow — from ideas in my head to the note to note-taking system I need to build.
Up to this moment, you might wonder why just use a terminal since I use it for my coding projects. Why bother using a note-taking app? Well, the point is I need to build a note-taking system that requires additional flavors such as content planning, status tracking, knowledge research, etc.
I used to take my notes in Notion, but the slaggy note-taking process in Notion drains my energy (Top 3 Reasons Why I Moved From Notion to Obsidian as a Software Developer). And I am amazed by the built-in Vim mode in Obsidian, not to mention other cool features such as offline mode and markdown editor, etc. So, In this article, I would like to walk you through the process of unlocking the power of Vim inside Obsidian, if you haven’t tried it yet.
Leverage the Vim Mode Provided by Obsidian
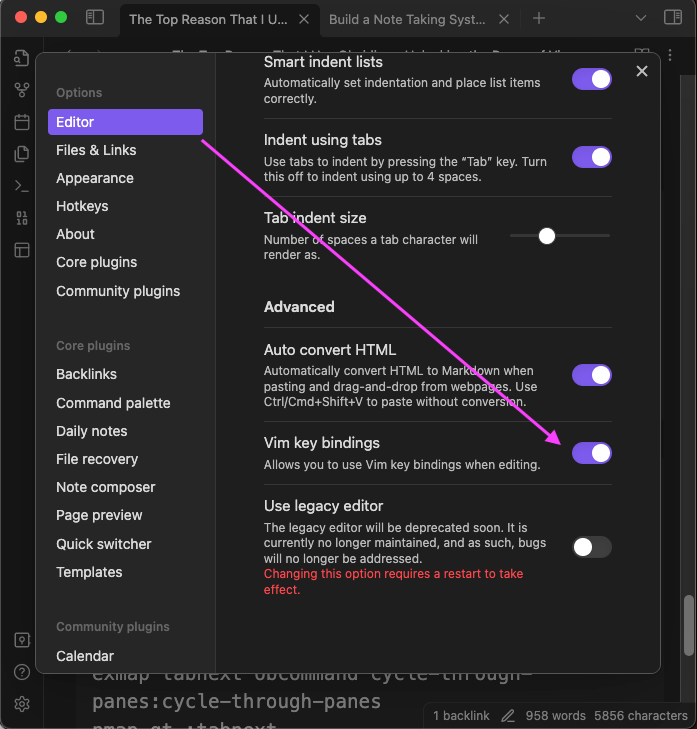
As I said before, Obsidian has built-in Vim support (a Vim mode, so to speak). so you can perfectly use Obsidian in Vim mode without any additional plugin for configuration. You only need to turn on the Vim support inside your Obsidian’s setting: Settings -> Editor -> toggle on the “Vim key bindings”.
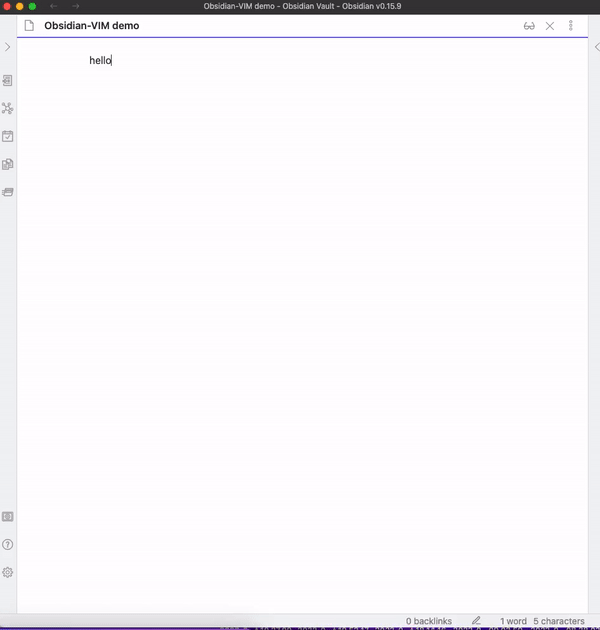
Now we can use Vim commands in our Obsidian notes:
If you’re interested in learning Vim, please check out my previous article which illustrates the main concepts of Vim:
Level Up Your Productivity With Vim
Obsidian’s Vim-Mode Only Provides Limited Capabilities of Vim
There are missing but extremely useful Vim commands in Obsidian’s default Vim mode. For instance, I want to have similar Vim key mappings to navigate different buffers using Crtl+o (backward) and Ctrl+i (forward), to toggle the folding feature in the Markdown editor using za, etc.
Demo these Vim key mappings from my terminal:
We will add these cool Vim keybindings through a community plugin built for the Obsidian — Obsidian Vimrc Support Plugin in the next section.
Use Obsidian Vimrc Support Plugin to Unlock More Vim’s Capabilities
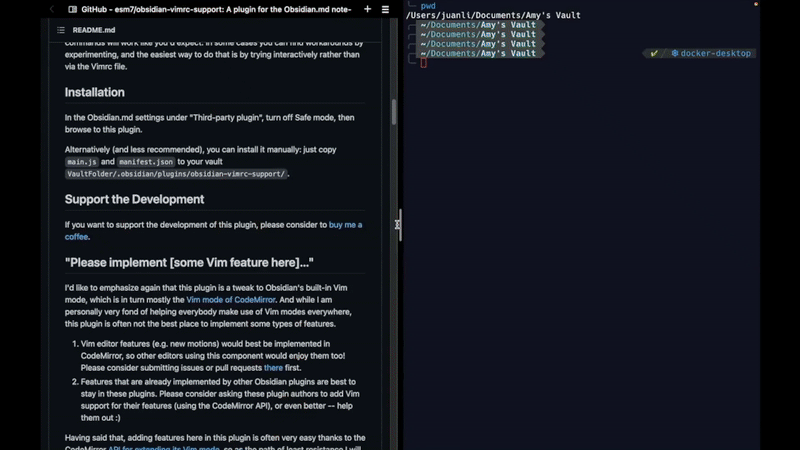
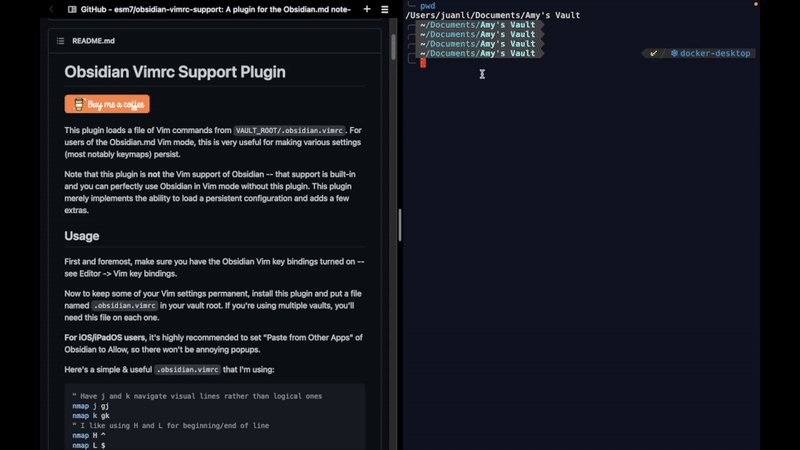
Obsidian Vimrc Support Plugin is a plugin for the Obsidian.md note-taking software. For users of the Obsidian.md Vim mode, this is very useful for making various settings (most notably keymaps) persist. — Obsidian Vimrc Support Plugin
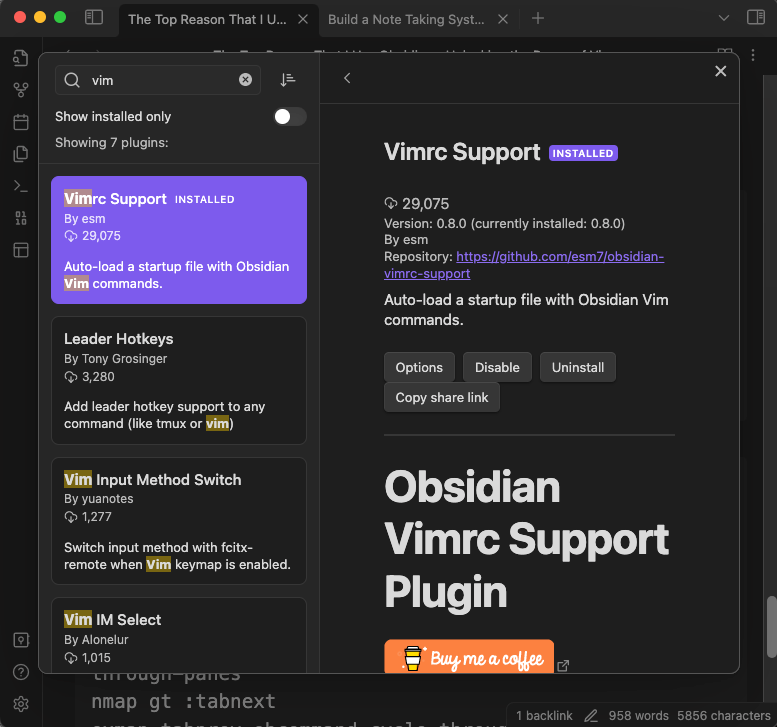
Step 1: Install and Enable the Plugin
Settings > Community plugins -> Install and enable “Vimrc Support”
Step 2: Create the Vimrc Configuration File for a Specific Obsidian Vault
This plugin loads a file of Vim commands from VAULT_ROOT/.obsidian.vimrc. This is the file where we will put our favorite Vim key mappings. So the first step to gain the power of the plugin is to go ahead and create a .obsidian.vimrc in your root dir of Vault.
- Navigate to the root directory of your Obsidian Vault
Open your terminal, and go to the directory where your Obsidian Vault is. If you have multiple Vaults, choose the one you want to have the Vimrc configuration take effect.
2. Create and save .obsidian.vimrc
Run the command vim .obsidian.vimrc to create the dot file, and don’t forget to save by executing:w under normal mode.
3. We will add the key bindings to this file in the following step (Step 3).
Demo the above process:
.obsidian.virmc using Vim from the terminal, and save this empty file first. GIF by Amy LiStep 3: Configure the Vim Key Mappings to Match the Obsidian Commands
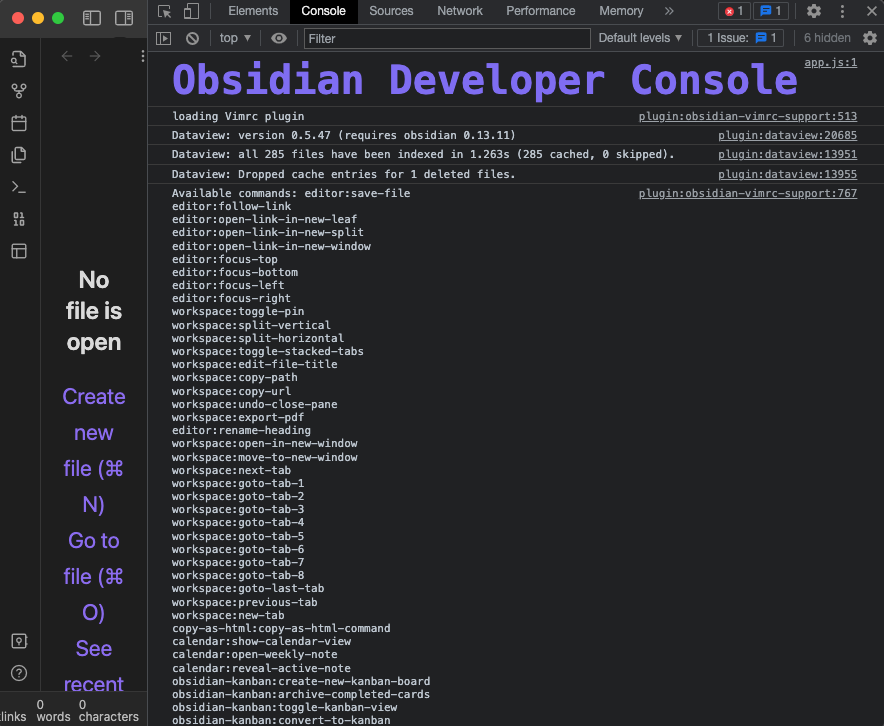
Let us first check out the Obsidian Commands From the Developer Console.
To better understand which commands we want to be mapped to Vim key bindings, we could first check out how Obsidian commands work. To see a list of Obsidian commands, just type:obcommand from the Obsidian app and you will see them in the developer console (Ctrl+Shift+I for Windows and Option+Cmd+I for Mac).
Demo how to show a list of Obsidian commands from the Obsidian Developer Console:
And here is the list of Obsidian Commands:
And we could quickly figure out what does the commands are by running the:obcommand <command name> from your Obsidian app. Some examples:
:obcommand app:go-back
:obcommand app:go-forward

:obcommand editor:toggle-fold
:obcommand editor:fold-all
:obcommand editor:unfold-all
Not a big fan of remembering complicated commands and shortcuts
Yes, you could perform various operations by running the:obcommand <command name>or setting the hotkeys for certain commands. But, as a Vim user, I enjoy reusing the Vim key bindings for the Obsidian app. Remembering the complicated hotkeys for a specific app is not a good idea because it’s not transferrable across platforms and applications. So, let us create some Vim keybindings inside the .obsidian.vimrc file we have created above.
- Navigate the Vim Buffers (the opened files)
" Go back and forward with Ctrl+O and Ctrl+I
" (make sure to remove default Obsidian shortcuts for these to work)
example back obcommand app:go-back
nmap <C-o> :back
exmap forward obcommand app:go-forward
nmap <C-i> :forward
- Toggle the folding action in a markdown file
exmap togglefold obcommand editor:toggle-fold
nmap za :togglefold

exmap unfoldall obcommand editor:unfold-all
nmap zR :unfoldall

exmap foldall obcommand editor:fold-all
nmap zM :foldall
Demo the above keybindings inside Obsidian:
Tip: Don’t forget to restart the Obsidian app once you make some changes to the .obsidian.vimrc file.
Following the examples above, you could create other Vim keybindings for your purpose.
Wrap Up
Vim is not only a powerful tool for software developers (programmers), but its power and usefulness are also manifested in a plain-text editor. Thankfully the Vim mode provided by Obsidian enables some limited capabilities of Vim. To unlock the real power of Vim, we just need to leverage the Obsidian Vimrc Plugin. In such a way, Vim users, feel at home when writing their notes using Obsidian.
Visit more FREE tutorials on our website.