Do you know you can build Notion-like database views in Obsidian.
Motivation
I don’t use Notion as much as before, but as a content creator, I miss the well-designed database views in Notion, where I could easily navigate to different views to manage our content. For example, in Kanban view, I could easily see the status of my work, and update the status of the content by simply dragging and dropping the target item. I could schedule my content effortlessly inside the Calendar view.
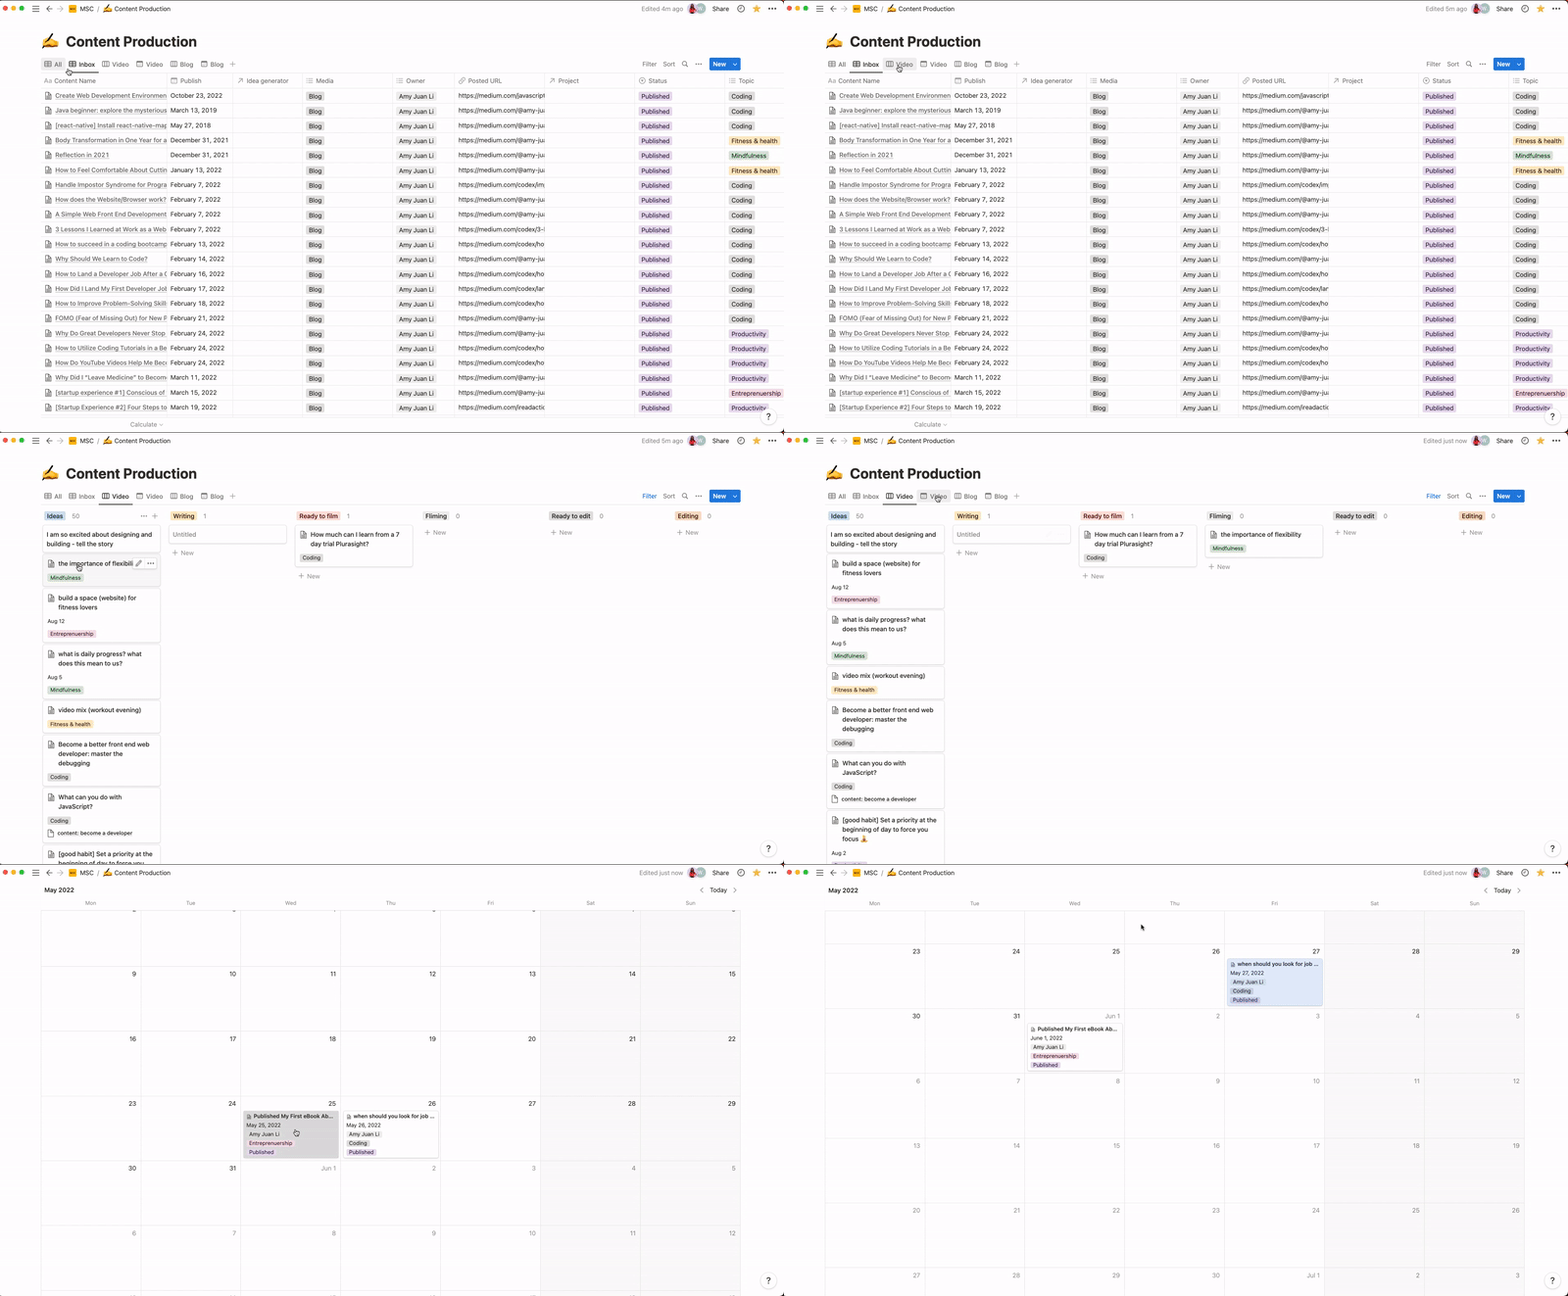
Luckily, we could set up similar database views inside Obsidian as well. In this article, I’m going to introduce you Obsidian Projects plugin, how to install it, how to create a new project, how to add new items to the project, and how I use this plugin for my creative work daily.
Install & Enable Obsidian Projects Plugin
Settings -> Community plugins -> Browse “Projects” -> Click Install and Enable buttons.
Once we have installed and enabled the Projects plugin to Obsidian, we could open the Projects page now. There are several ways to open it:
- Go to the command palette and select Show Projects
- Binding a hotkey to the above command (
cmd + shift + pin my case) - Click the icon
Open projectsfrom the Obsidian ribbon
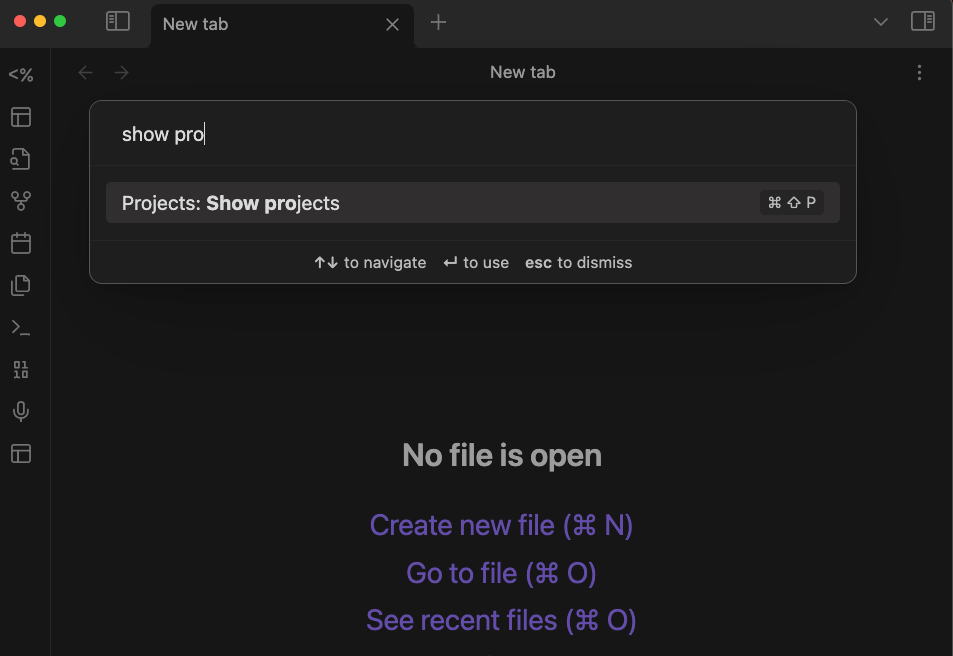
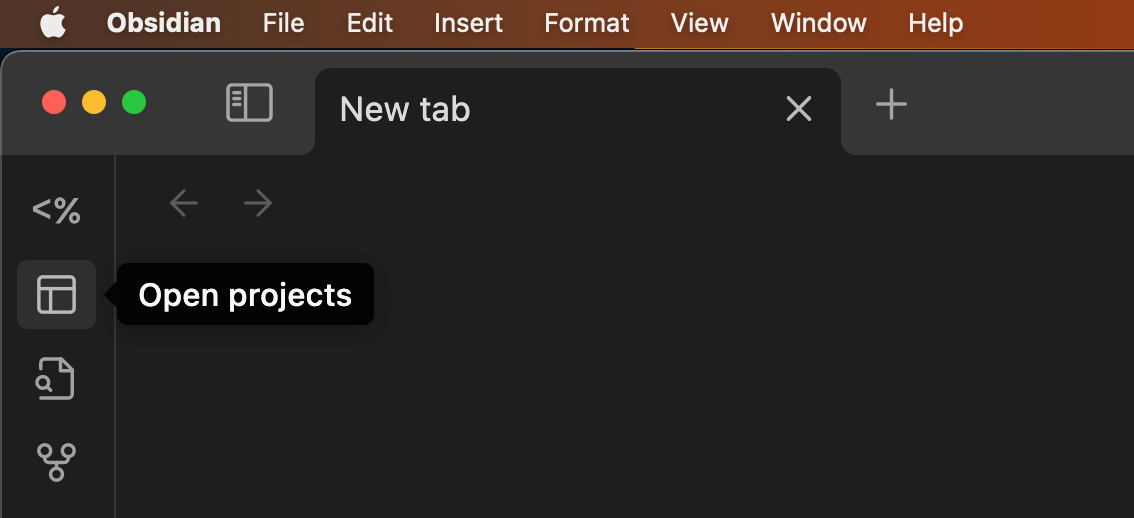
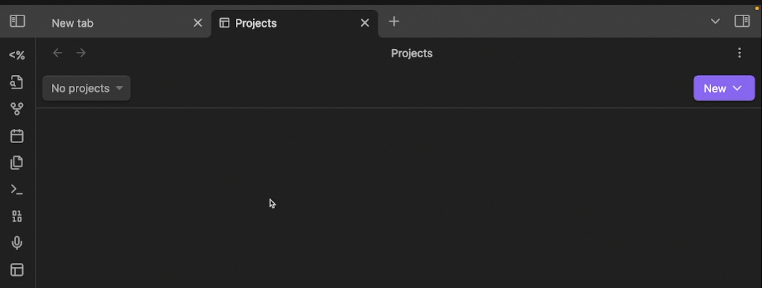
Show projects' from the command palette. Right: Click the `Open projects` from the ribbon.Here is what a Projects page looks like:
Take a Quick Look at the Demo Project
Before creating our new project, let’s have a quick knowledge about the Demo Project provided by the plugin. The below window will pop up whenever we are creating our FIRST project.
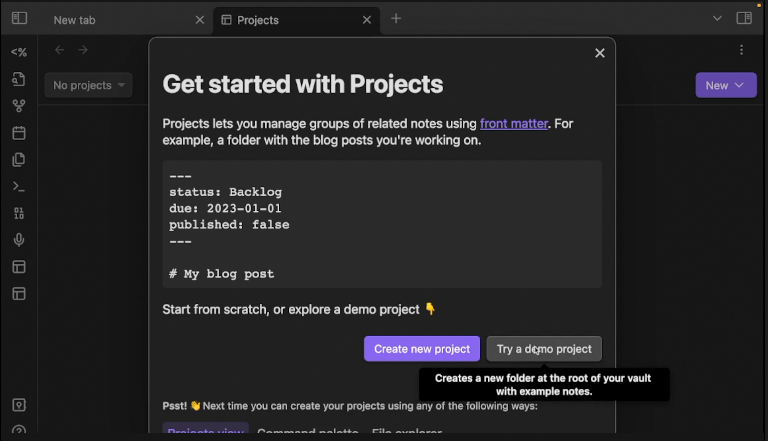
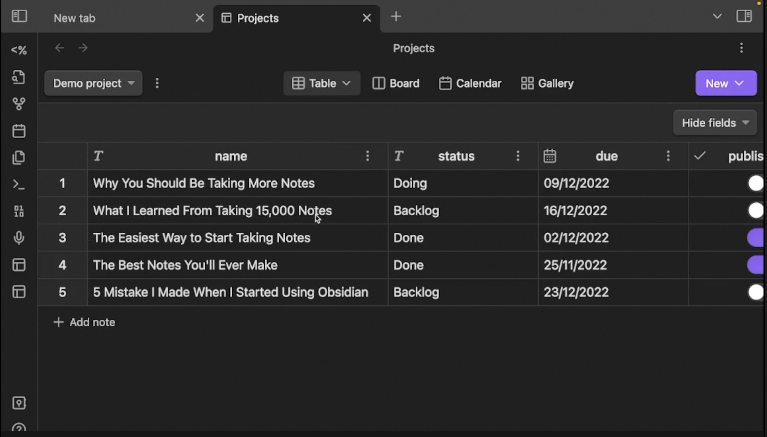
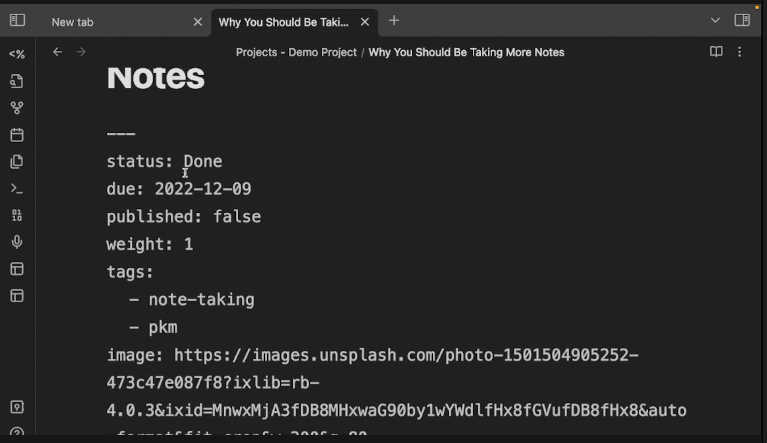
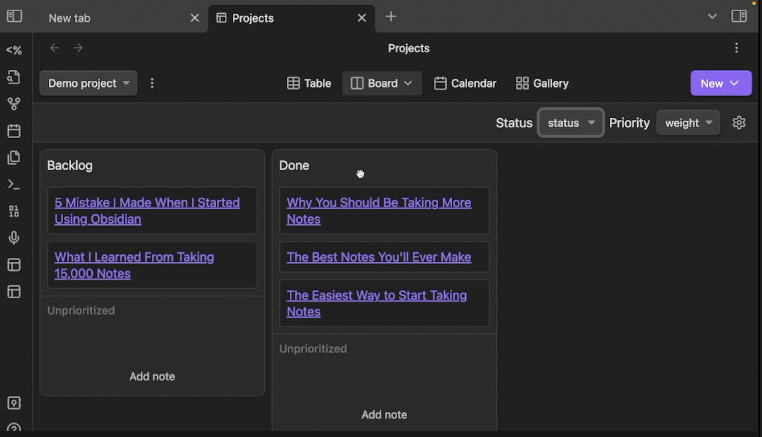
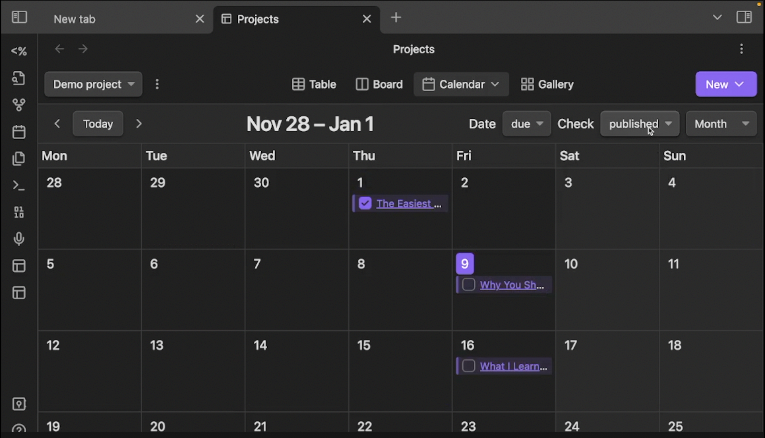
Here is what the Demo Project looks like:
Create Our First New Project From Scratch
How to Query the Project Notes
Two ways to query the notes associated with the project we’re going to create:
- Dataview Query for read-only data (watch the video for further explanation)
- Create a folder path for the project we want to create, which is the way we’re using to create our first project in this section.
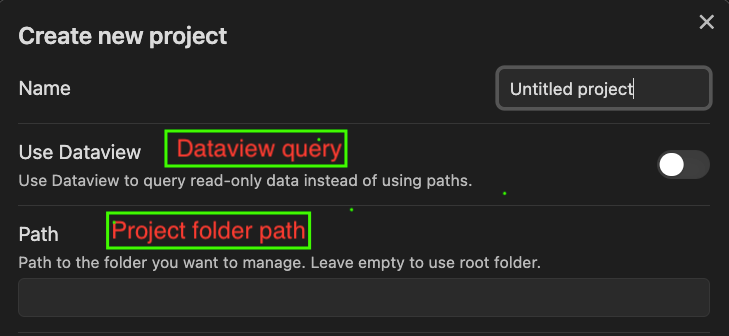
Create a New Project Based on Project Folder Path
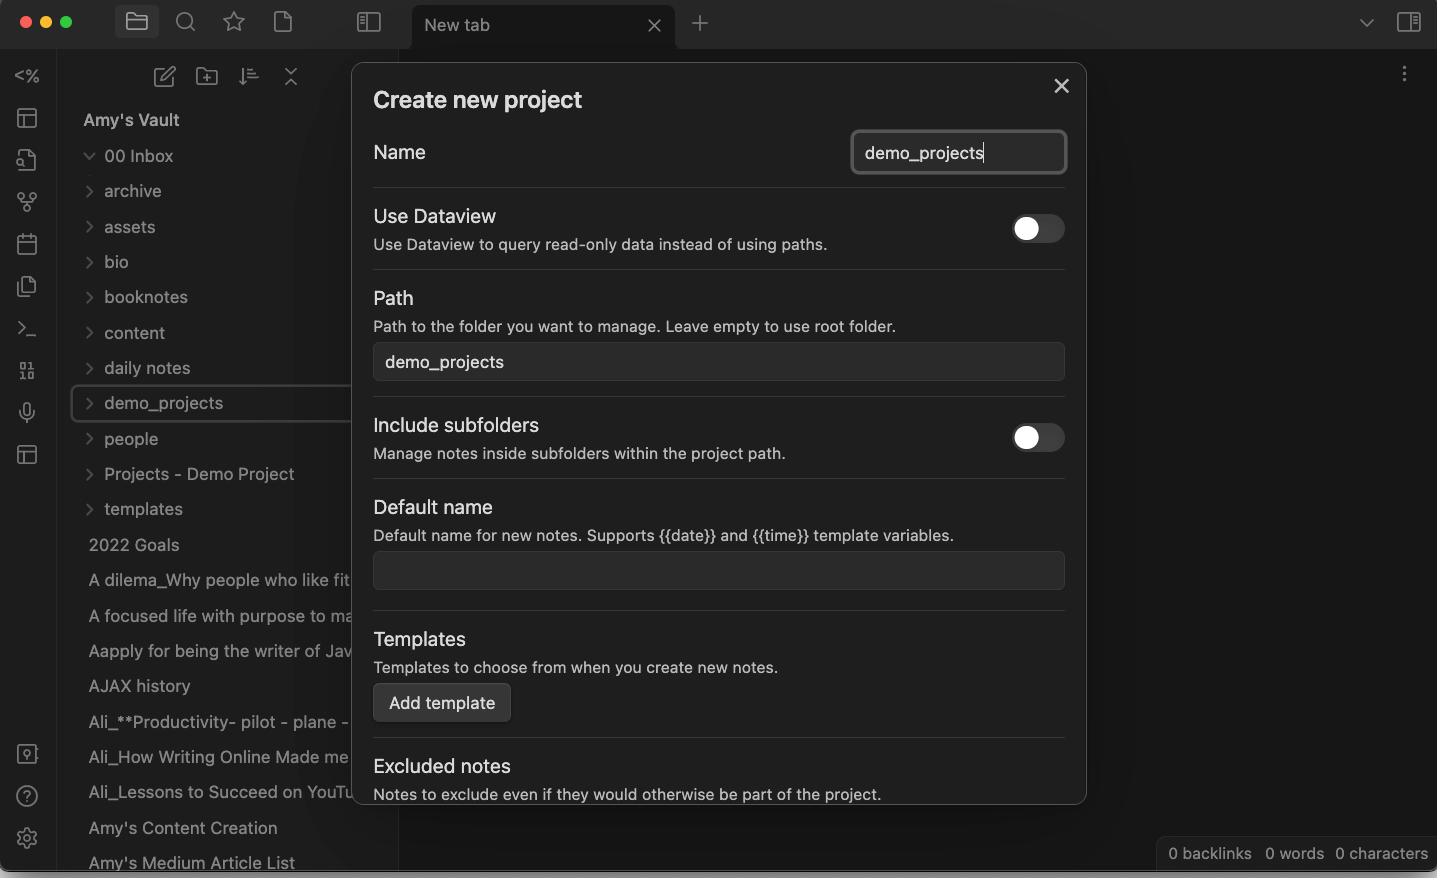
Let’s first create a folder called ‘demo_projects’ for our new project: right-click the folder -> choose ‘create project -> then the folder name will be populated into the form input field -> select the template we want to use to create Obsidian notes for this project.
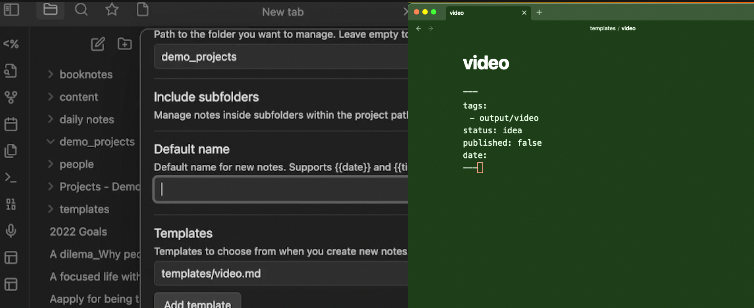
Here is what our new project looks like (an empty project):
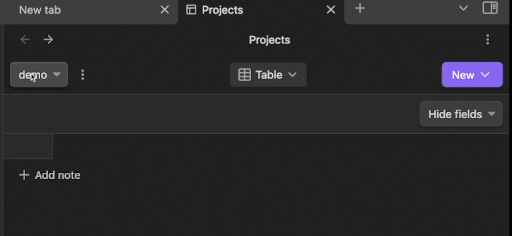
Add Notes to Our Newly Created Project
Several ways of adding notes to our new project:
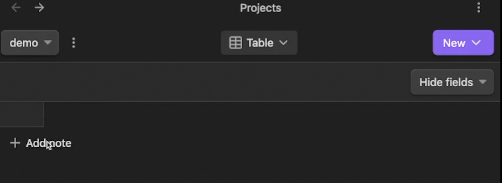
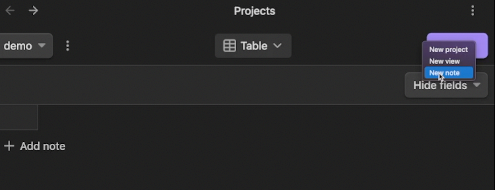
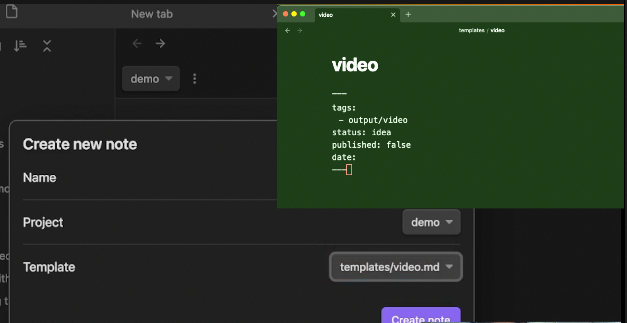
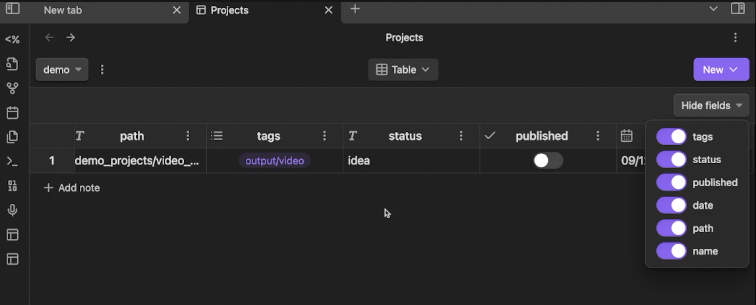
Now, we just added a note to the ‘demo’ project as below:
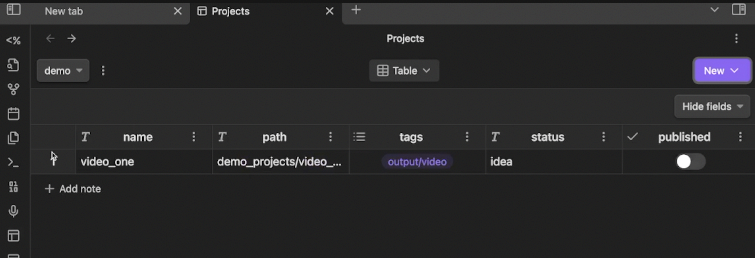
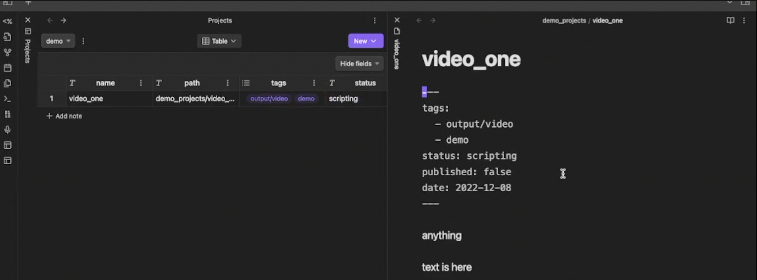
Let’s have the Projects page along with the note open on the same window (choosing Stack Tabs):
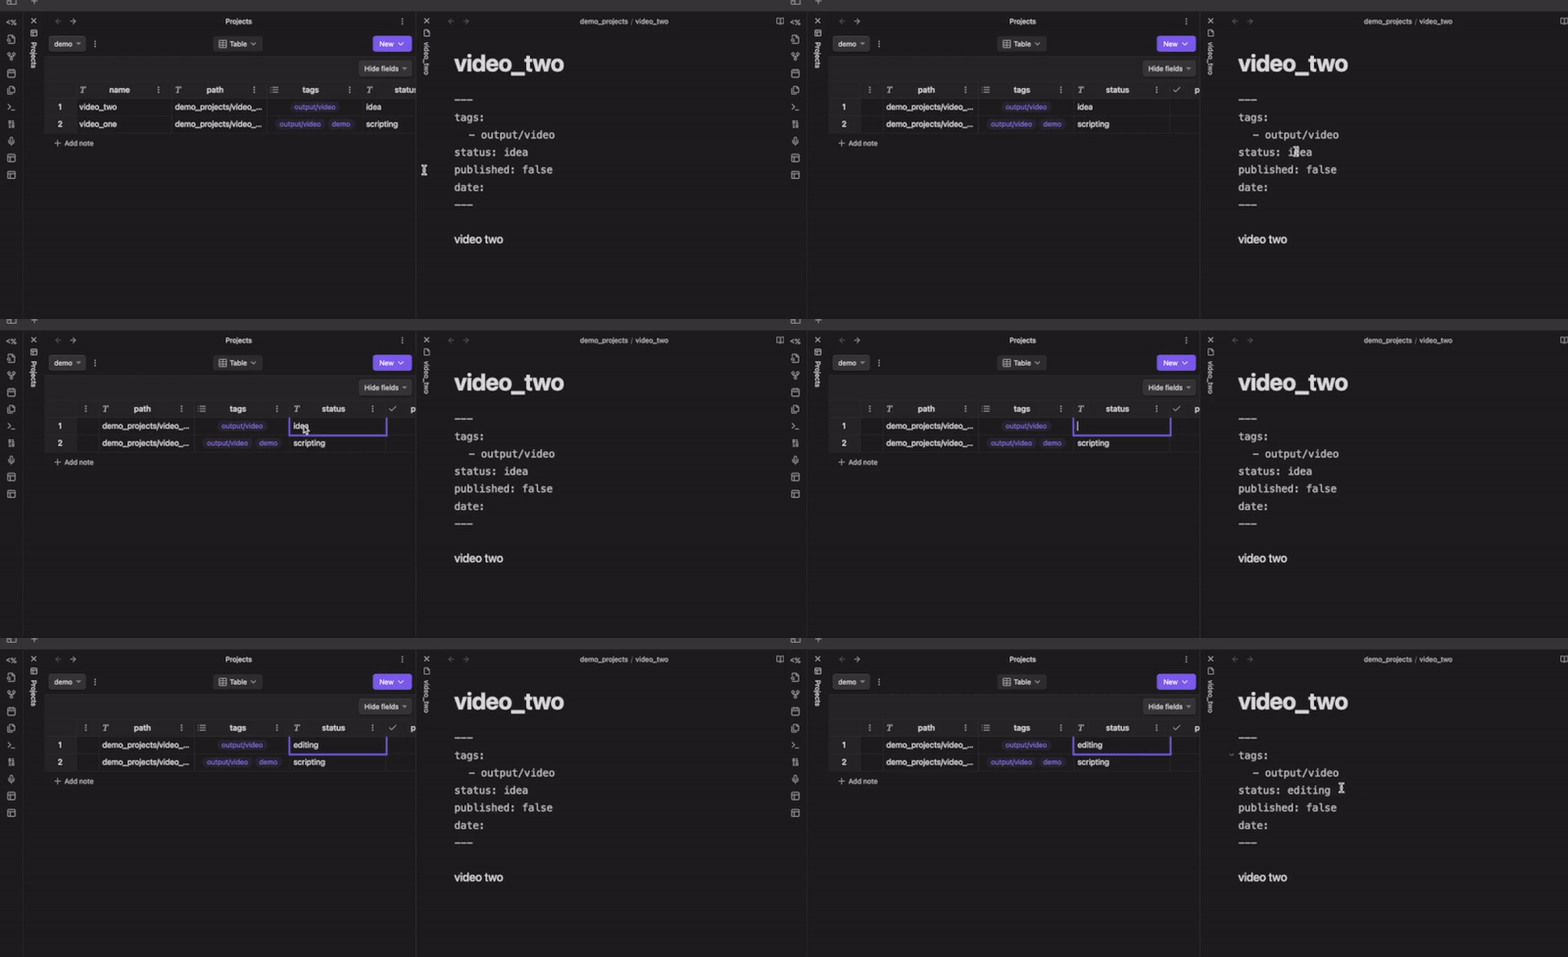
All the metadata values are editable from the table view.
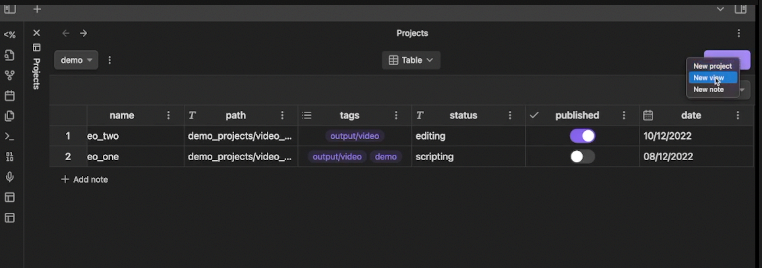
Create a Kanban View in Obsidian
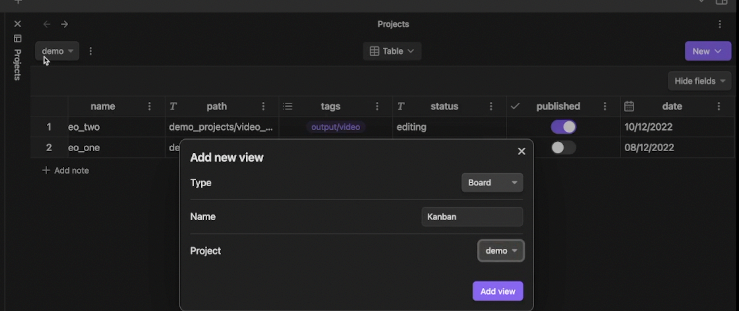
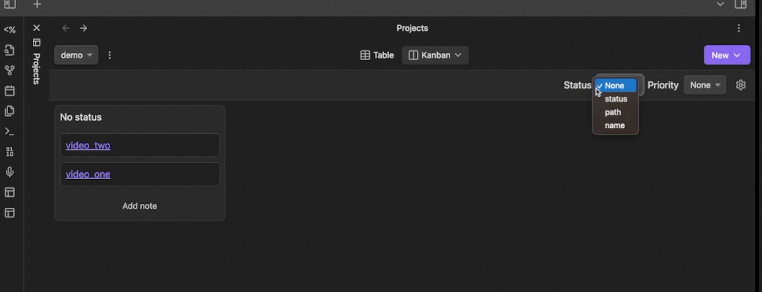
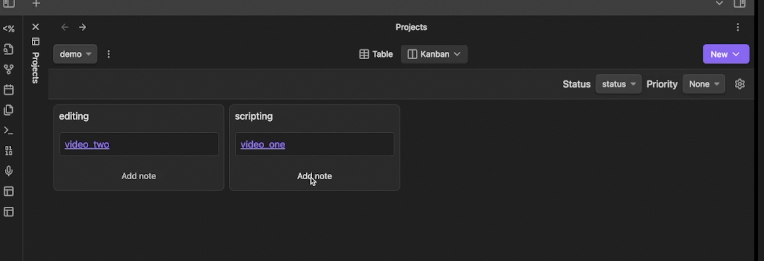
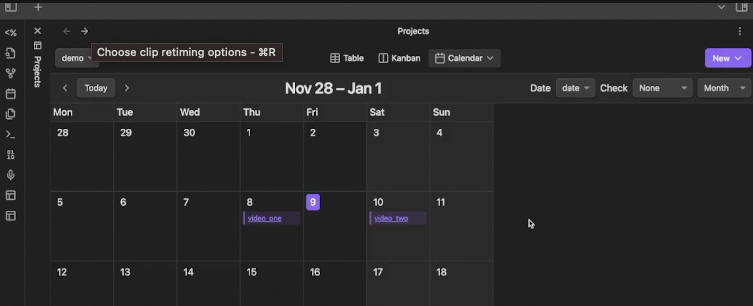
Create a Calendar View in Obsidian
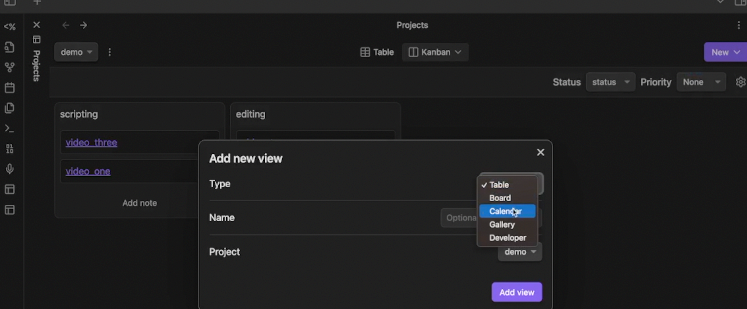
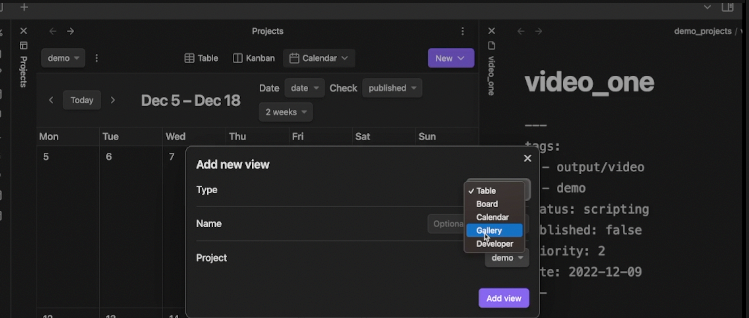
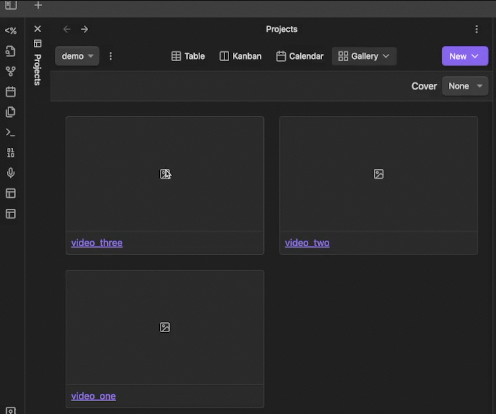
Create a Gallery View in Obsidian
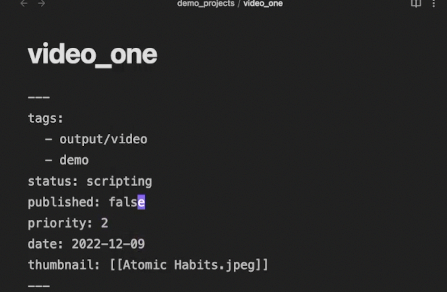
Let’s add metadata for the ‘Cover’ inside the notes:
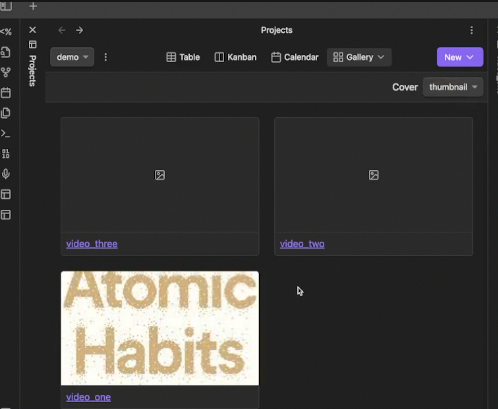
In the above project we just created, we are targeting the notes inside a project folder that provides a customizable user interface for us. Let’s quickly create a demo project using the Dataview query rather than the folder path to understand the differences between using a folder path and a Dataview query.
My Personal Use Case
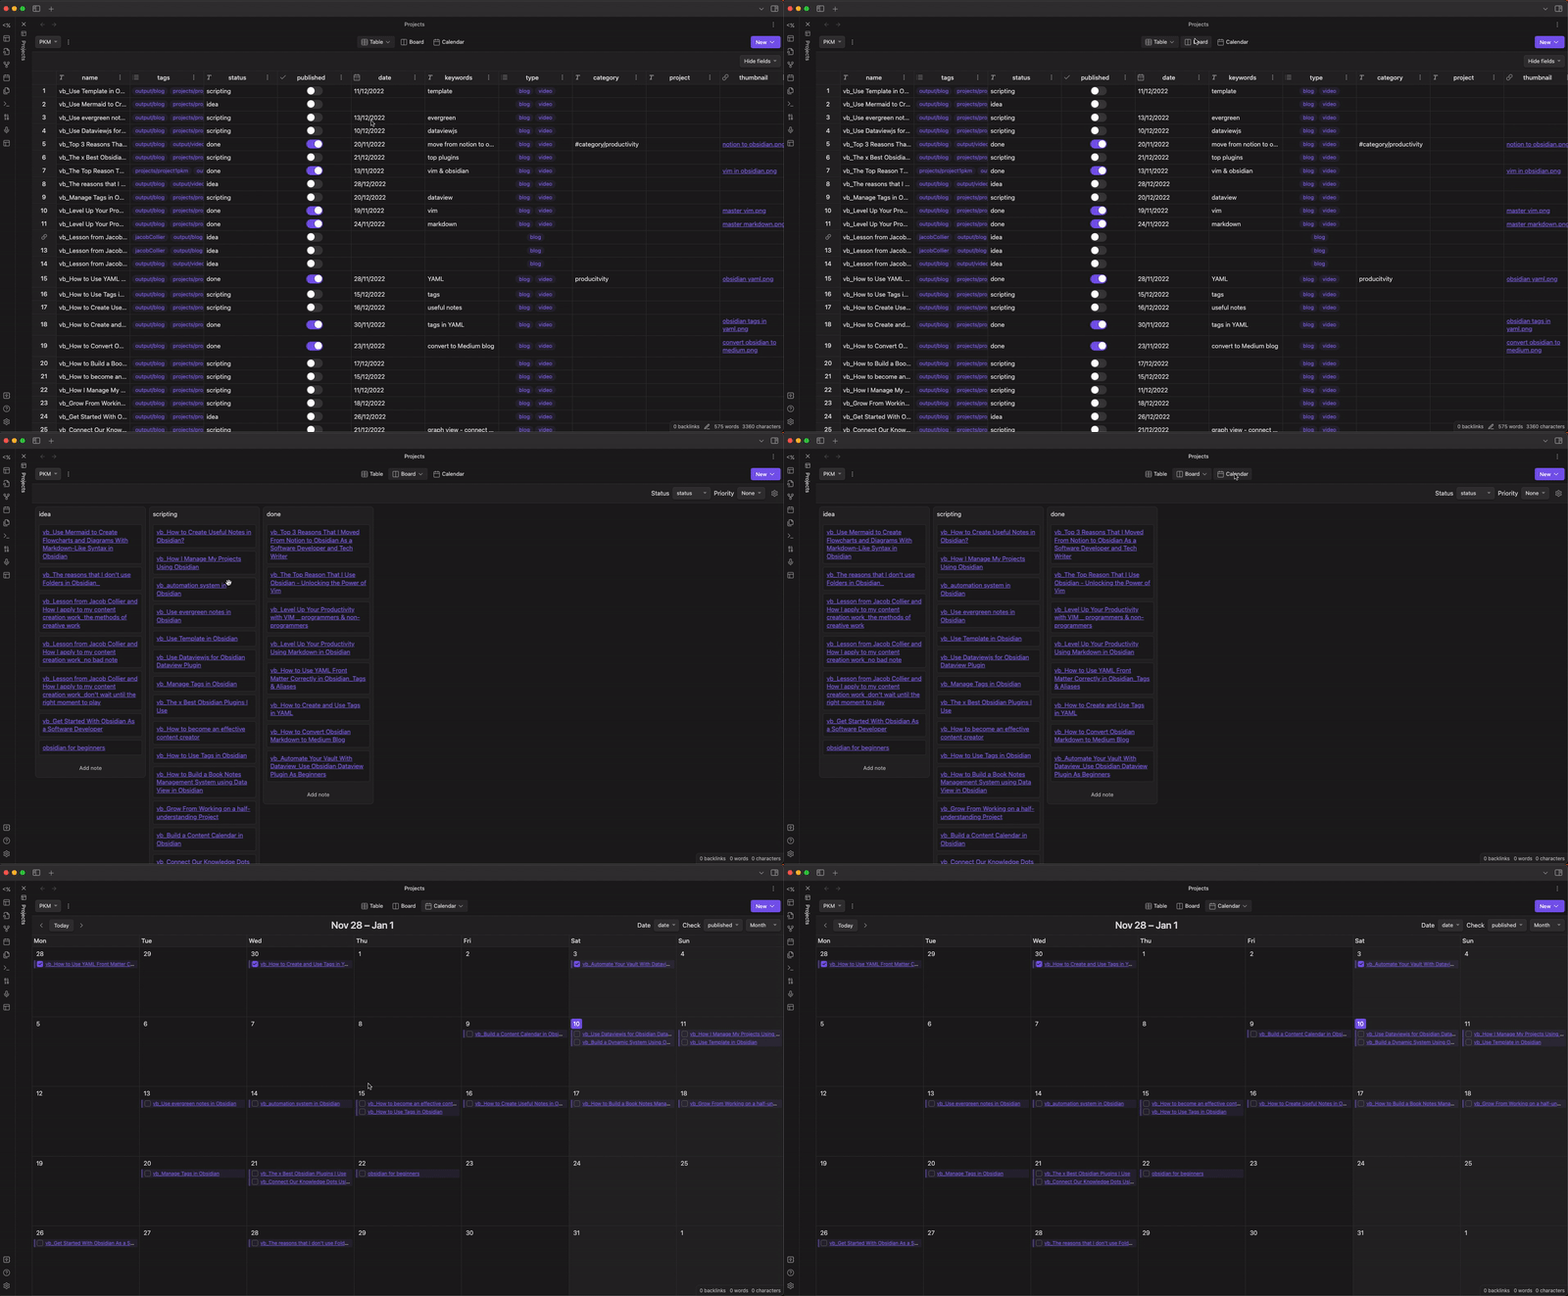
I’ve been recently working on a project — Building an efficient PKM system using Obsidian. Below is the article list and video playlist for this project.
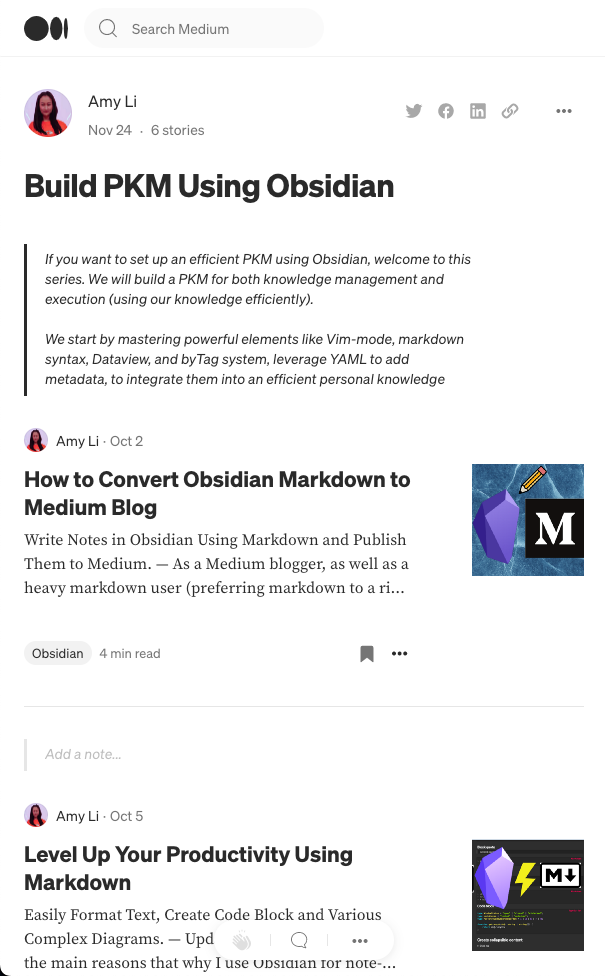
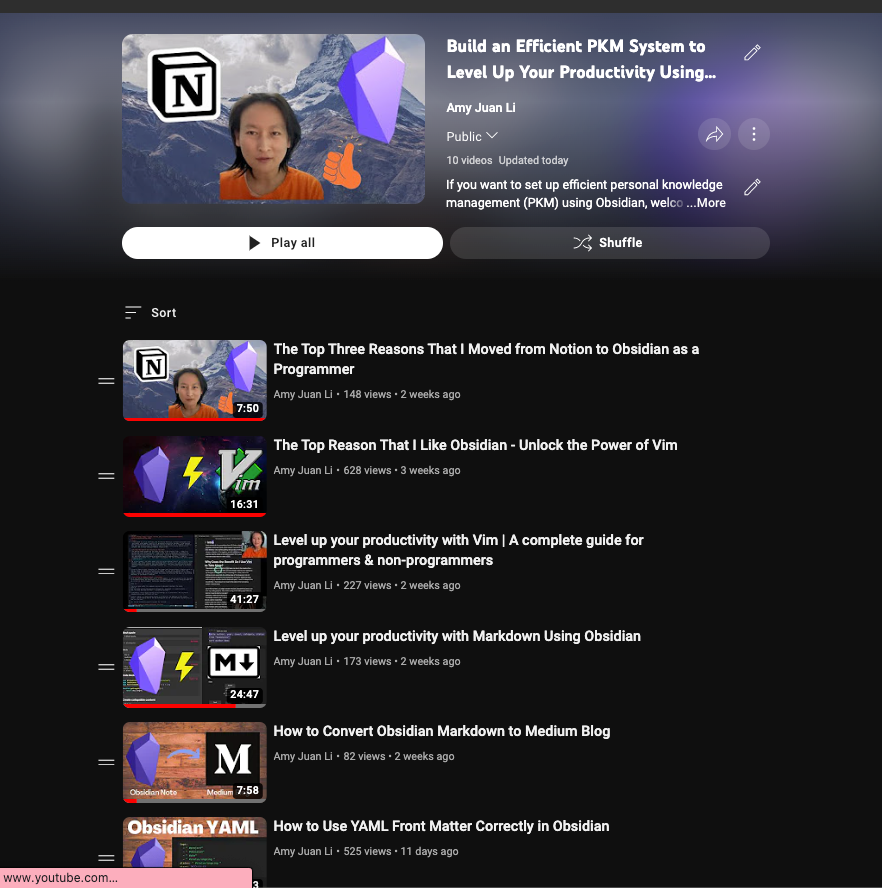
Demonstrate the database views for my PKM project:

Missing Functionalities of Obsidian Projects Plugin
- We could not re-order the table headers in a table view.
- We could not update the status inside the Kanban view which doesn’t have the capability of dragging and dropping an individual item.
Wrap Up
Not only content creators but also anyone who wants to manage their projects in a single place would benefit from having an established well-designed dynamic database management system. Just go ahead and experiment with this Obsidian Projects plugin.
Thanks for reading! Have fun with your note-taking system.

